Create a Dot Pattern in Illustrator Using Transform Effects
Adobe Illustrator Design Tips
Article written on Friday, 26 May 2023
Two very powerful Adobe Illustrator features I use very often are the Transform Effects and Transform Each. There is a lot you can do with these and choosing this route can not only save you time, it also gives you a lot of flexibility...

Transform Effect
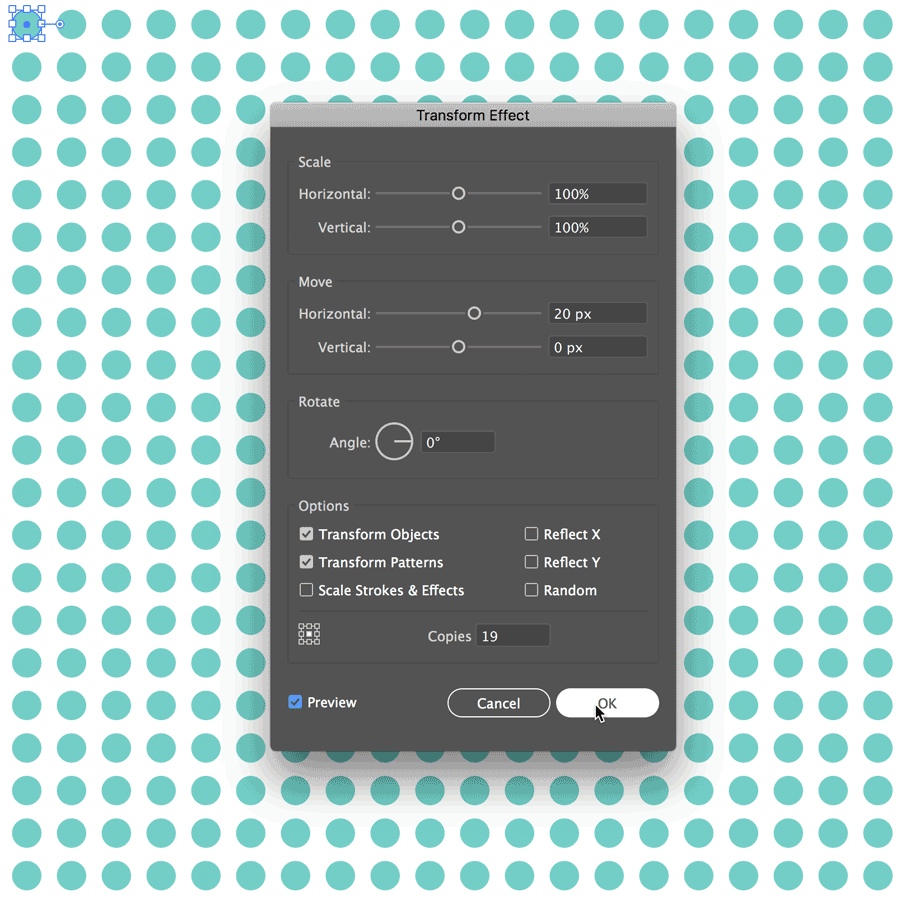
I use the Transform Effect a lot when I want to duplicate an item into 2 directions (via Effect > Transform > Distort & Transform > Transform....). In the example shown I use it to create a dotted grid. First I repeat the dot vertically, to end up with a vertically dotted line which I then repeat horizontally. It is still 1 dot, but with 2 effects applied to it that I can edit by double clicking the effect in the Appearance panel. I can for instance tweak the gap space etc. Also, if I make the dot smaller, all dots will be smaller. If I change the color, all dots will have this color. It keeps it all very flexible. That's pretty cool, right?

Transform Each
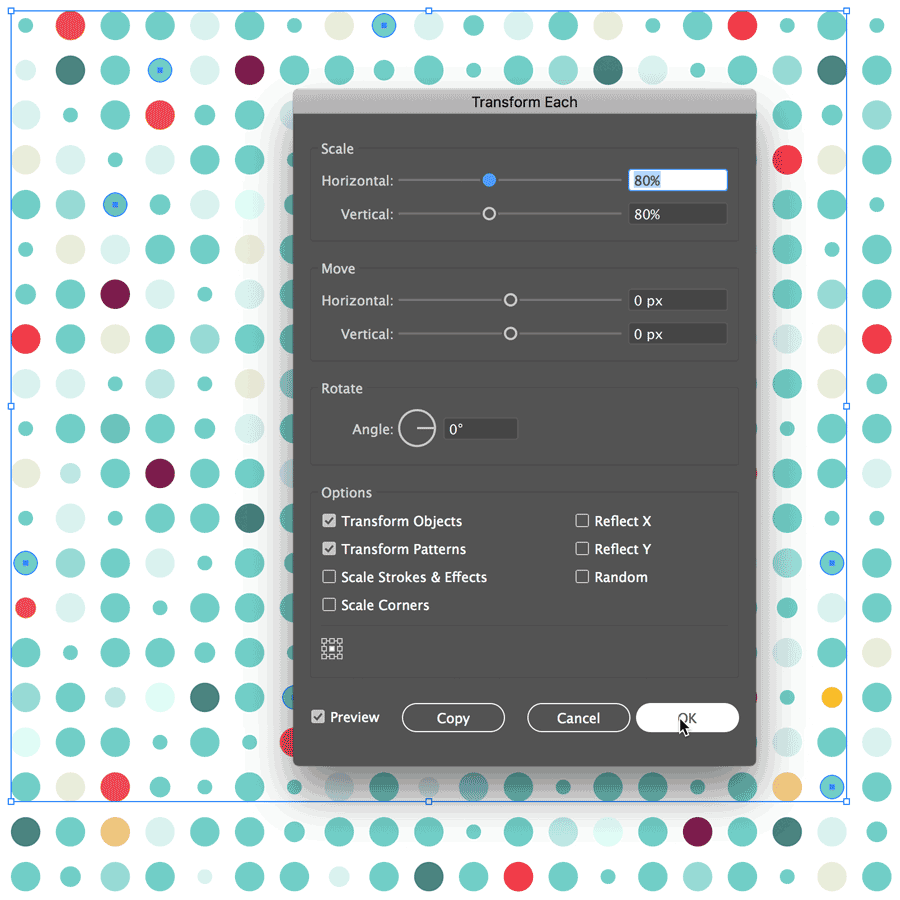
However, in most cases once I think I got what I need, I expand the effect(s) so I can play around with each dot separately (via Object > Expand Appearance). Then I hit Cmd/Ctrl + Shift + G twice to ungroup the (2 nested) groups, and I apply a different color to some, or make some dots a bit smaller than the others. In this case I go to Object > Transform > Transform Each. This will transform each object separately. Make sure the objects aren't part of a group or this won't work. Make sure Preview is checked so you see the result. In other words, this simple feature can turn a boring dot pattern like this into something more attractive and fun in no time.


