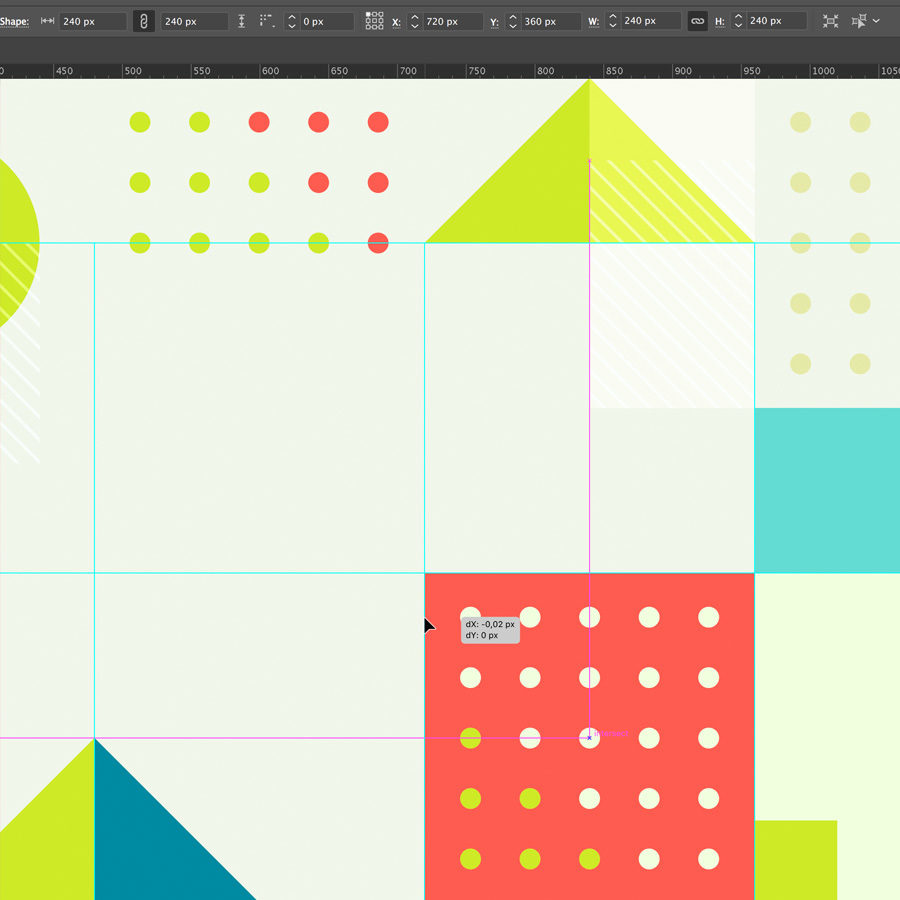
Illustrator Guides & Grids
Adobe Illustrator Design Tips
Article written on Saturday, 31 Aug 2019
Guides are something I use in every Adobe Illustrator creation. Definitely on creations where I divide things up in equal spaces. In Illustrator there are different ways to create guides, or a grid for that matter. A very efficient way is by using the Rectangle Grid tool (located under the Line tool).

Create Grids & Align Guides
When you hold down the shift tool while dragging a Rectangle Grid, and use the arrow keys to remove or add rows or columns you can create a perfect squares grid. Once you have the grid in place, you can turn the paths into guides by going to View > Guides > Make Guides, or you simply hit Cmd/Ctrl + 5. You can turn any shape or path into a guide using this shortcut, and you can align or evenly distribute guides vertically or horizontally. First make sure guides are unlocked (View > Guides > Lock Guides is unchecked), then select them and select the proper distribute option from the Align or Properties panel.

Use Easy Values
A thing I try to keep in mind is to use values that are easy to calculate, like 10, 100,... Take for example the creation of a dotted pattern or concentric circles. You could use 200 px for the width and height of the smallest circle, the next one 250 px, then 300 px, 350 px and so on... It makes things much easy to work with. When you use values like this, it's also easy to line things up perfectly via X and Y coordination values in the Control bar at the top. Then when you have Smart Guides, and make sure you have Snap to Point enabled (instead of Snap to Pixel) you can position your elements even faster.


