How To Create a Rainbow Art Brush
A Quick Adobe Illustrator Tutorial
Article written on Friday, 27 Mar 2020
Art brushes are a powerful feature in Adobe Illustrator and can help reduce rather complicated steps in the creation of simple things. Think for instance what's needed to create a rainbow. It's basically a half circle of 7 colored lines of equal width. You'd think of creating each color line separately as a circle, but then you need to do the math to make sure each circle has the exact same width etc. This is a perfect example for the creation of an Art Brush.
1. Create The Art Brush
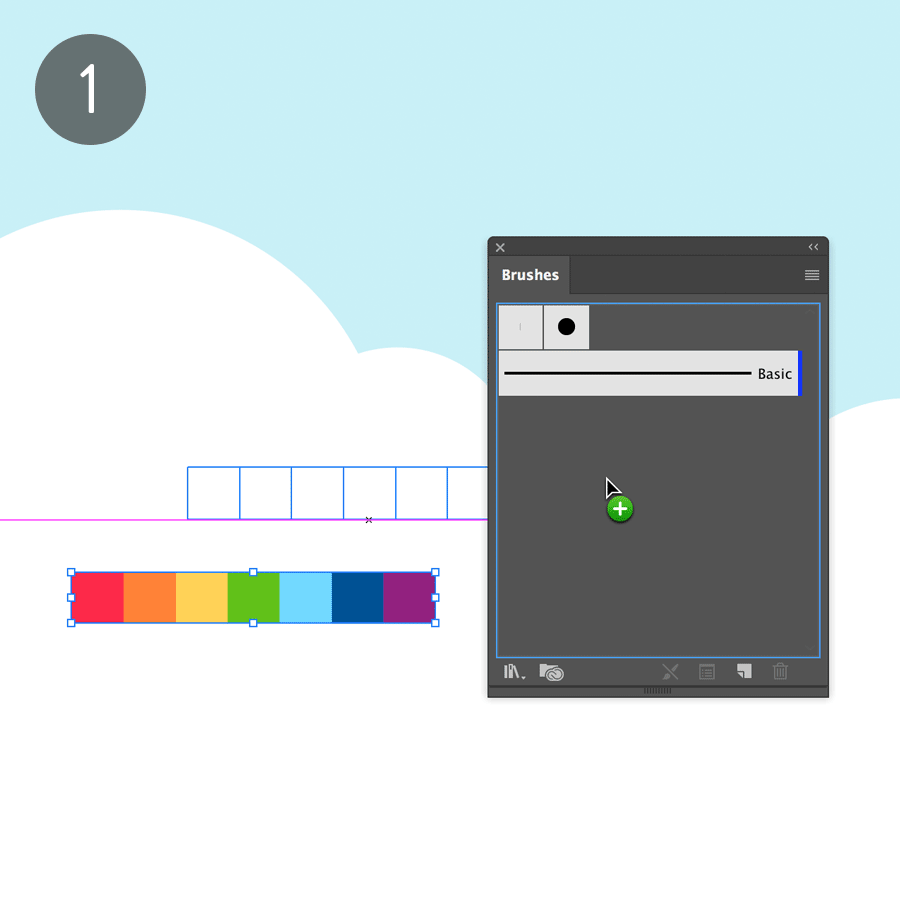
You start by drawing a square for the first color of the rainbow. Use 10 by 10 px for this square to make it easy for the creation of the other squares. Apply a red fill to this square, and then duplicate this square horizontally 6 times. Do this by going to Effect > Distort & Transform > Transform.... Check Preview first so you see what you're doing. Enter -10px in the Move Horizontal option, and enter 6 in the Copies option. Hit OK. Then go to Object > Expand Appearance. Use the Direct Selection tool to select each square one by one and give each its proper fill: orange, yellow, green, ...
2. Apply The Art Brush
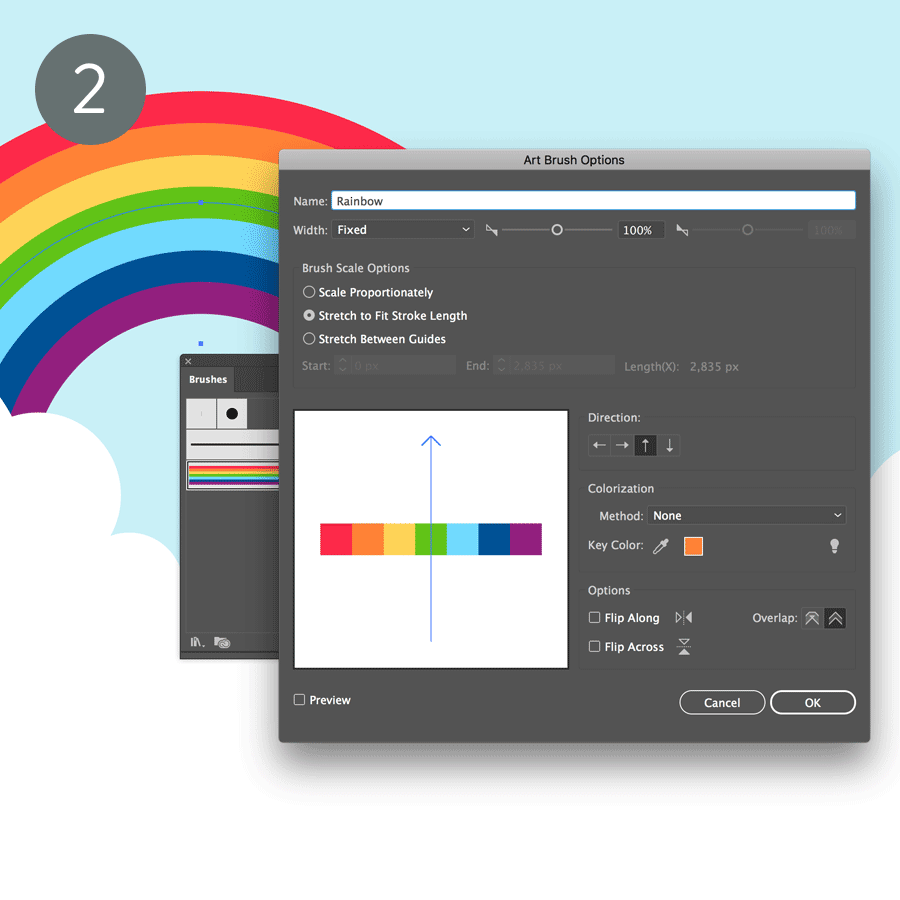
After you've applied the rainbow colors to each square, select all 7 and drag the object into the Brushes panel. Next, choose Art Brush and click OK. In the Art Brush Options give the brush a name and select Stretch to Fit Stroke Lenght and the up arrow direction. Leave the Colorization Method setting to None. Now draw a circle and delete the bottom anchor point of the circle (use the Direct Selection tool to select the point). Apply no fill, and a transparent stroke of 1 pt. With the half circle selected, choose your rainbow brush from the Brushes panel. Adjust the stroke size if needed. That's it!
