Photoshop Type Shortcuts Cheat Sheet
Big list of Tips, Tricks, and Shortcuts for Working with Type
Article written on Friday, 27 Aug 2021
Seems fitting after my previous article that deals with Photoshop Layers & Shortcuts that we move on to a big list of useful handy shortcuts when working with type. Some of these I knew, but most of them I learned from following Adobe's Julianne Kost over the years. She's an awesome resource to keep an eye on. No time to waste so let dig in and see them all after the jump.
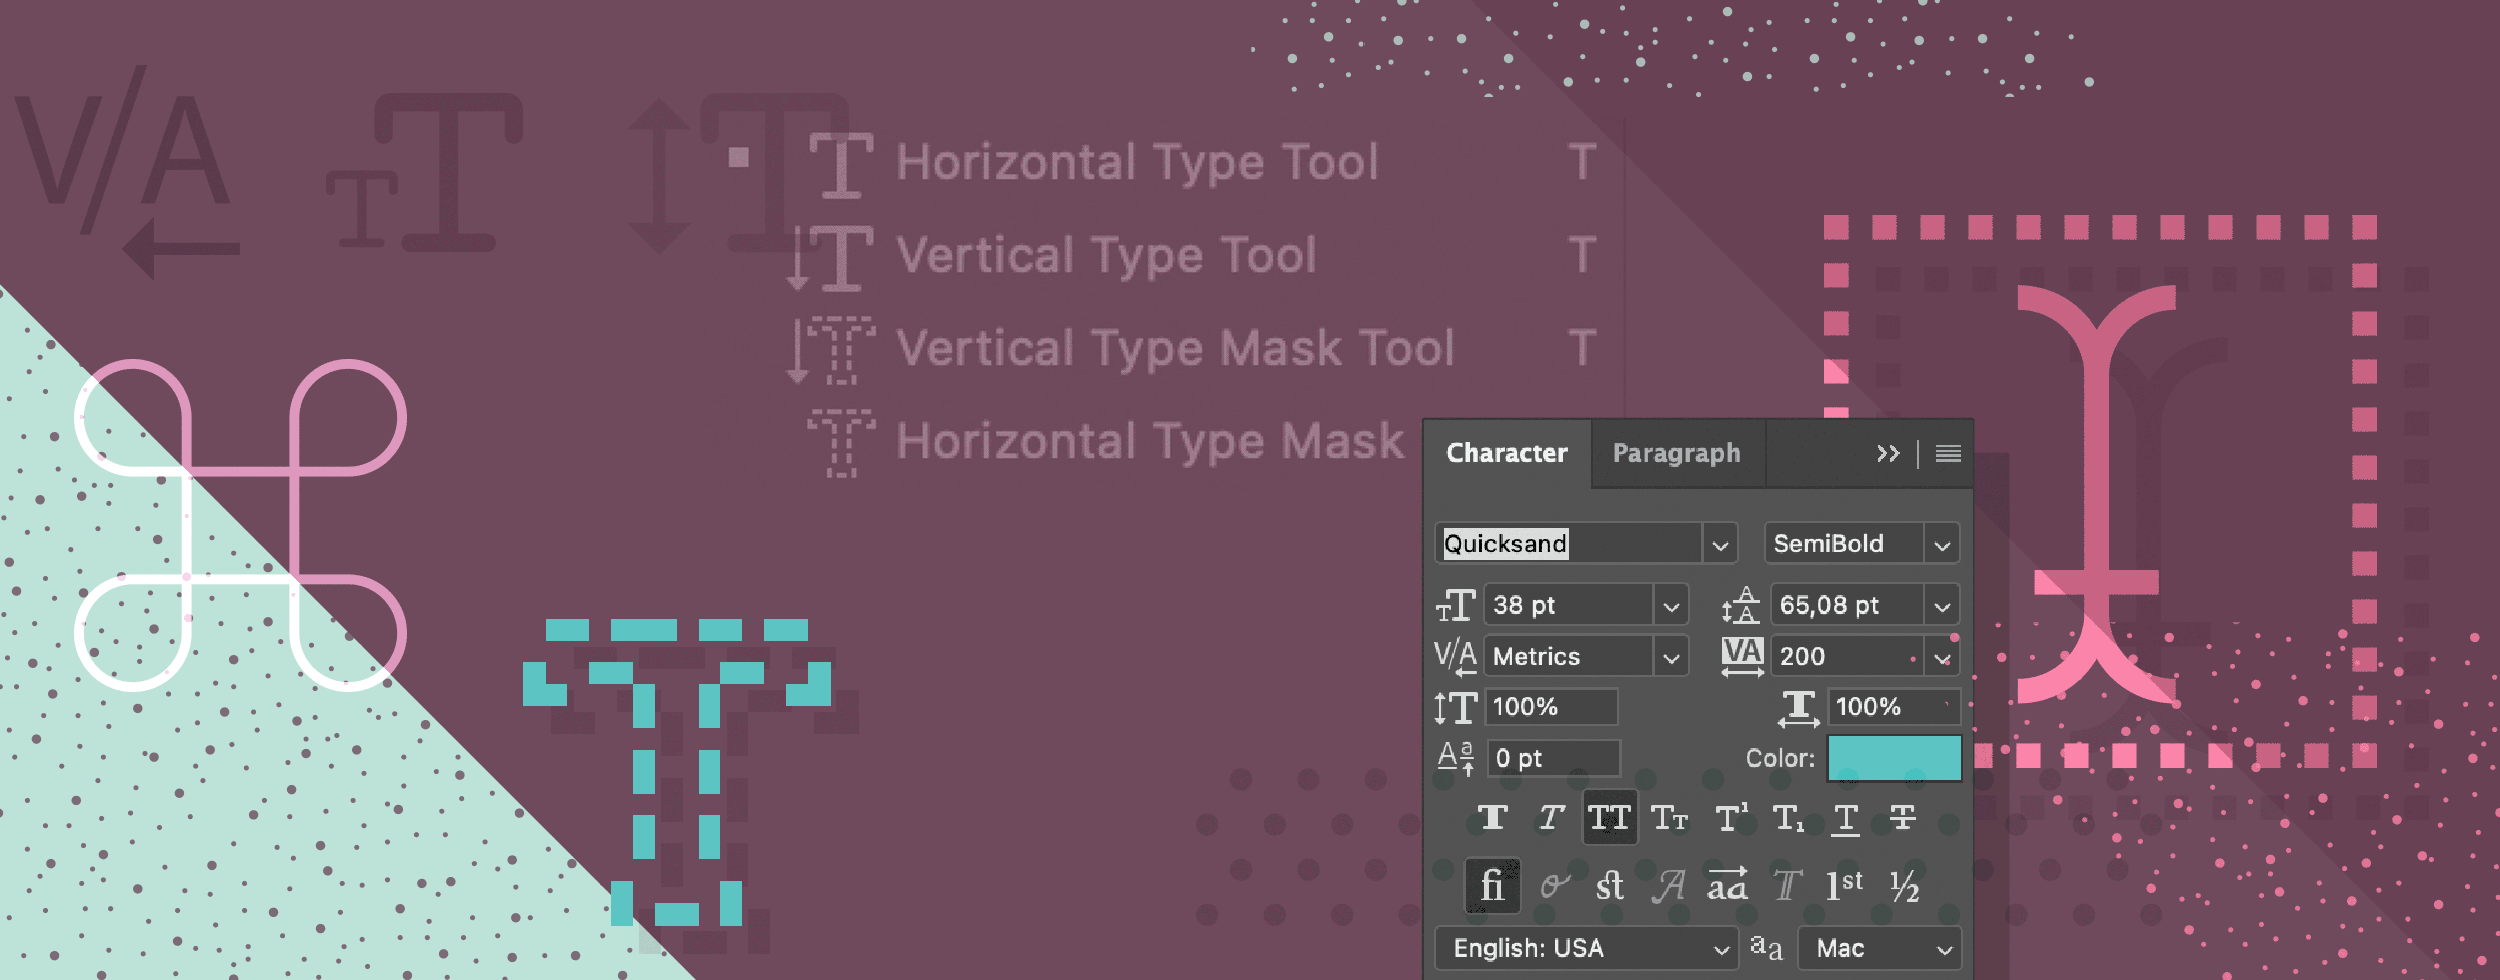
1) Basic Formatting Shortcuts:
- Command + Shift + < or > (Mac) | Control + Shift + < or > (Win) increases/decreases point size by 1
- Command + Option + Shift + < or > (Mac) | Control + Alt + Shift + < or > (Win) increases/decreases point size by 5
- Option + (Mac) | Alt + (Win) left/right arrow key decreases/increases kerning (the amount of spacing between two characters)
- Option + (Mac) | Alt + (Win) left/right arrow key decreases/increases tracking (if greater than 2 letters are selected)
- Option (Mac) | Alt (Win) + up/down arrow increases/decreases leading (the amount of vertical space between lines in a paragraph)
- Command + Option (Mac) | Control + Alt (Win) + up/down arrow increases/decreases leading by 5
- Option + Shift (Mac) | Alt + (Win) Shift + up/down arrow increases/decreases the baseline shift by 1
- Command + Option + Shift + A (Mac) | Control + Alt + Shift + A (Win) reverts back to Auto Leading
- Command + Return (Mac) | Control + Enter (Win) commits the text (simply clicking return/enter will add a line break)
- Command + Shift + L/C/R (Mac) | Control + Shift + L/C/R (Win) aligns text Left/Center/Right (when using the Horizontal Type tool)
- Command + Shift + L/C/R (Mac) | Control + Shift + L/C/R (Win) aligns Top/Center/Bottom when using the Vertical Type tool
2) Changing Font Style
If a font “family” (Myriad or Minion for example) has a font “style” (Bold or Italic for example), then the following keyboard shortcuts will change the Font Style. If the font doesn’t contain the style then “Faux” styling will be applied.
- Command + Shift + B (Mac) / Control + Shift + B (Win) sets Bold
- Command + Shift + I (Mac) / Control + Shift + I (Win) sets Italic
- Command + Shift + K (Mac) / Control + Shift + K (Win) sets All Caps
- Command + Shift + H (Mac) / Control + Shift + H (Win) sets Small Caps
3) Accessing Special Type Characters in Photoshop
- Bullet (•) — Option + 8 (Mac) | Alt + 7 (Win)
- Cent (¢) — Option + 4 (Mac) | Alt + 155 and/or Alt + 0162 (Win)
- Copyright (©) — Option + G (Mac) | Alt + 0169 (Win)
- Degree (°) — Option + Shift + 8 (Mac) | Alt + 248 and/or Alt + 0176 (Win)
- Ellipsis (…) — Option + Semi-colon (Mac) | Alt + 0133 (Win)
- Registered Trademark (®) — Option + R (Mac) | Alt + 0174 (Win)
- Trademark (™) — Option + 2 (Mac) | Alt + 0153 (Win)
- En dash (–) Option + dash (Mac) | Alt + 0150 (Win)
- Em dash (—) Option + Shift + dash (Mac) | Alt + 0151 (Win)
Note: these shortcuts only work if the selected font contains those characters!
4) Resetting Vertical and Horizontal Scaling
- Command + Shift + X (Mac) | Control + Shift + X (Win) resets Horizontal scaling to 100%
- Command + Option + Shift + X (Mac) | Control + Alt + Shift + X (Win) resets Vertical scaling to 100%
5) Selecting Type
- Clicking the cursor within a type block will auto-select the Type layer on the Layers panel
- Double clicking on the “T” icon on Layers panel will select all of the type on the layer (and auto-select the Type tool).
- Shift + Down Arrow/Up Arrow selects 1 line down/up
- Command + Shift + Left/Right Arrow (Mac) | Control + Shift + Left/Right Arrow (Win) selects 1 word left/right
- Select multiple type layers at one time (using the Layers panel) to change attributes for multiple layers at once
- Double click with the text to select a word (click three times to select a line, four times to select the paragraph (when using Area type) and five times to select all of the text.
6) Resizing Type
- When editing type, Command-drag (Mac) | Control-drag (Win) the anchor points (of the bounding box) to resize the type. Add the Shift key to NOT retrain proportions.
Note: if you want to retain Legacy Transform go to Preferences > General > Use Legacy Free Transform
7) Repositioning Type
Positioning the cursor slightly outside of the Type’s bounding box, temporarily toggles the icon to the Move tool. Drag to reposition the type in the image area without first having to commit to the type.
8) Adding a New Type Layer
- Shift -click the Type tool in the image area to create a new type layer when close to another type block. (Adding the Shift key prevents Photoshop from auto selecting nearby text, which can be very helpful when an image contains several type layers in close proximity).
- Clicking with the Type tool in the image area automatically displays placeholder text to preview font, size, color etc. The placeholder text is replaced as soon as you start to type. To disable, choose Preferences > Type > Fill New Type Layers With Placeholder Text.
9) Changing Multiple Type Layers
- To change multiple Type layers at one time, select them in the Layers panel and with the type tool selected, change the desired attributes.
- To quickly view only the Type layers in a document (making it easier to select them), set the Filter at the top of the Layers panel to Kind and click the “T” icon.
10) Changing Multiple Type Layers
- While the type (or a portion of the type) is selected, Command + H (Mac) | Control + H (Win) hides the selected “reversed out” type enabling a more accurate preview of the type (especially when selecting at color).
Note: the first time you use this shortcut on the Macintosh, Photoshop will display a dialog asking “Would you like to use Cmd-H to hide Photoshop (Mac standard), or to hide/show selections, guides, etc. (Photoshop traditional)? Click “Hide Extras” unless you want to “Hide Photoshop” every time you use the shortcut.
If you do choose to “Hide Photoshop”, you can change this behavior later by choosing Edit > Keyboard Shortcuts. Set the “Shortcuts For” to Application Menus and toggle the disclosure triangle for the View menu. Scroll down to Extras, change the Shortcut to Command + H and click Accept and then OK.
11) Changing Multiple Type Layers
- Option + Delete (Mac) | Alt + Backspace (Win) fills any selected type with the foreground color.
- Command + Delete (Mac) | Control + Backspace (Win) fills any selected type with the background color.
Note: If the type layer is selected, but no individual letters within the text block are selected (there isn’t any text insertion point in the text), these shortcuts will change the color of all of the type on a layer.
12) Point vs. Paragraph Type
Simply clicking with the Type tool will create Point Type (lines of type that have to be manually broken to wrap using the return key). To create Paragraph Type, (type that is flows within a bounding box) click and drag with the Type tool to draw the bounding box or, Option -click (Mac) / Alt -click (Win) in the image area to set the width and height of the paragraph type bounding box.
13) Paragraph Formatting Shortcuts
- Command + Option + Shift + H (Mac) / Control + Alt + Shift + H (Win) toggles paragraph hyphenation on/off.
- Command + Shift + J (Mac) | Control + Shift + J (Win) will justify the paragraph and left justify the last line.
- Command + Shift + F (Mac) | Control + Shift + F (Win) will justify the paragraph AND justify the last line
14) The Adobe Single vs Multi-Line Compose
The overall “look and feel” of justified text can be vastly improved by calculating the justification settings based on more than one line of text in a paragraph (as opposed to setting each line individually). The next time you create a block of paragraph text in Photoshop, select the type and use the shortcut: Command + Option + Shift + T (Mac) | Control + Alt + Shift + T (Win) to toggle between the Adobe Single-line and Every-line Composer. The Adobe Every-line Composer will almost always produce tighter, better-looking paragraphs with more consistent spacing.
Note: Photoshop also supports Paragraph-level composer switching.
15) Warping Type Layers
To warp multiple layers of text as a single unit, select the layers and convert them into a single Smart Object. Then, add the warp (Edit > Transform > Warp). Check out this video called 'New Transform Capabilities in Photoshop' to learn more about Warping objects (including Type) in Photoshop.
16) Previewing Fonts
Because the Live Preview font menu takes up a lot of space, you may prefer to click in the text entry field next to the font family (on the Options bar) to highlight the font name and use the up/down arrow keys on the keyboard to select the next/previous typeface (if the type is selected in the image area, you can see the type change as you select different typefaces).
17) Exploring Headline (Point) Type
Discover how to work with the Type tool to create Headline Type in this free video called 'Exploring Headline (Point) Type' from Photoshop 2021 Essential Training: The Basics on LinkedIn Learning.
18) Working with Glyphs
This video called 'New Typographic Features in Photoshop CC' demonstrates how to apply alternate characters to your type in Photoshop’s using the on-canvas glyphs feature.
19) Tips for Using the Glyphs Panel
- If the character shows a black dot in the lower right corner, clicking and holding the character will display variances.
- Double click on a glyph to insert it into the text.
- At the bottom of the Glyphs panel, use the slider to zoom the glyphs or, use the scale-down/scale-up icons to zoom the preview within the grid.
20) Working with Type On a Path
- Using either the Shape tools or the Pen tool, create a path keeping in mind that the type that you will add will flow in the direction that anchor points were added to the path. Then, select the Type tool and click on the path where you want the text to begin (when the cursor is properly positioned above the path, the type insertion point icon will display a horizontal line – the baseline indicator, through it) and start typing.
- When working with an open path (an arc for example), Command -drag (Mac) | Control -drag (Win) the small “x” icon at the beginning of the type change where on the path the type begins.
- When working with a closed path (a circle for example), use the same shortcut as above, and you’ll notice that there is an additional “o” icon on the path which can be dragged with the same shortcut and will act as an end point, restricting the type to flow beyond it.
- Resizing the shape will reflow the type.
- Command -drag (Mac) | Control -drag (Win) the I-beam at the beginning of the type or the flashing insertion point within the type to flip the orientation of the text from above the path to below the path.
Note: that the text will flow the text the other direction. If you simple want to move the type above or below the text (without flipping it), use the baseline shift in the Character panel.
21) Adobe Fonts Auto-Activation
Adobe Fonts are automatically activated when you open a Photoshop document. In other words, when you open a document that contains Adobe fonts that are not installed on your machine, Photoshop will automatically find, download (sync), and install the fonts. This feature is really about what you won’t have to do anymore – you won’t have to see that missing fonts dialog on open, and you won’t have to select and relink fonts! Here’s how it works:
- When you first open the file, in the Layers panel, you may see the old, familiar yellow warning icon on the offending Type layer(s), notifying you that a font used in the document is not installed.
- Adobe Fonts auto-activation will automatically start. You’ll see a blue download-in-progress icon when your missing font starts downloading. When the font has finished downloading, the download-in-progress icon will disappear and the type layer is ready for editing.
- If the font that’s missing is not a part of the Adobe Font Library, you won’t be bothered with the “missing font” messaging until you try to edit the respective type layer at which time you will have the option to substitute a font.
- If you have both Adobe Fonts and non-Adobe fonts missing in your document, Adobe Fonts auto- activation will still happen automatically for the missing Adobe Fonts and, if the font is not a part of the type library, you will have the option to substitute the font when you try to edit the respective layer.
Note: for a large number of non-adobe fonts, you can also select Type > Manage Missing Fonts.
22) Variable Fonts
In this video titled 'Variable Fonts and Additional Typographic Enhancements in Photoshop CC' you’ll discover the power of Variable Fonts and additional typographic enhancements in Photoshop CC.
23) Pasting Text without Formatting
To copy and Paste text into a type within Photoshop without formatting the text, choose Edit > Paste > Paste without Formatting.
24) Stylistic Sets
When working with OpenType fonts, you can now apply Stylistic Sets making it easier to apply a font’s alternate characters (such as substituting an alternate glyph for a fancy “g” with a simple “g”. Select the Type layer (or a subset of the text), click the Stylistic Set icon from the Properties panel, and choose from the font’s options.
Note: Stylistic sets are a character-level attribute. As such, selected sets (Sets 1–20) are maintained if you switch fonts. In other words, if you have “set one” applied for a specific font that displays a simplified lowercase “g” and choose another font that has “set one” defined as Swash Caps, the Swash Caps will be applied and the simplified “g” removed. This behavior is simply a consequence of how Stylistic Sets are implemented in OpenType fonts.
25) Finding Similar Fonts, Match Fonts
This video titled 'New Typographic Features in Photoshop CC' demonstrates how to find Similar fonts (installed locally or available via the Adobe Type Library (formally Typekit) as well as demonstrates how to use the Font Match Feature in Photoshop to identify similar fonts from a photograph (bitmap image).
26) Anti-Aliasing Options for System Font Matching
There are several anti-aliasing options available to render type in order to match the operating system. Selecting the Type tool and choosing the font matching option (MAC or MAC LCD on Macintosh, Windows or Windows LCD on Windows) from the Options bar (or the application menu: Type > Anti-Alias), enables text rendered in Photoshop to look the same as the browsers on their respective operating systems (mac/mac and win/win). However, selecting these options does give up fonts looking the same cross platform, so don’t use the system font matching options if you’re doing print work and want cross platform compatibility.
27) Paragraph and Character Styles
In this video tutorial called 'Paragraph and Character Styles in Photoshop CS6', Julieanne Kost demonstrates how to create Paragraph and Character styles in Photoshop . With these styles, you can apply formatting to selected characters, lines, or paragraphs with a single click.
28) Paragraph and Character Styles
This video titled 'Julieanne’s 5 Favorite Features in Photoshop 13.1' explains how to set Default Type styles in Photoshop. I thought it might be helpful to include a few additional notes to clarify what will happen (the default behavior) when working with default type styles in different scenarios:
- If you choose “Save Default Type Styles” from the Type menu, it will REPLACE your existing default type styles if they exist, or create them if they do not.
- After defining default type styles, every time you create a new document, those default type styles will be automatically loaded into the new document.
- If you open an existing document without any defined styles, Photoshop will automatically load the default type styles.
- If you open an existing document that HAS type styles defined, Photoshop will NOT load the default set. (You can choose to load them manually – see next bullet.)
- If you choose “Load Default Type Styles”, it will APPEND the default styles to any type styles already defined in the document. However, if there is a type style with the same name, it does not load that default type style.
- After loading the default styles in a document, they are saved with the document. If you later change the default styles, this will not update the styles in previous documents.
- If you need different sets of type styles for different projects/clients, you will need to define those type style sets in separate Photoshop files and then load the appropriate set each time you begin work for that project/client.
Note: If you’re new to Type Styles, this video called 'Paragraph and Character Styles in Photoshop CS6' will quickly get you up to speed.
Hope these Adobe Photoshop type tips and shortcuts got you up to speed. I go back to these to cheat myself from time to time, so it is handy handy to have them all in one place. I may do an article on Adobe XD in a later stage as well.
